

Choosing the wrong mirror tile size can compromise the visual precision of a lighting design or architectural feature, leading to a distorted reflection that fails to meet professional standards. For projects demanding high-fidelity light scattering, the 5mm tile has emerged as the benchmark for resolution.

This article explains why 5mm tiles deliver superior optical clarity and light diffusion compared to larger formats like 10mm. We’ll cover the physics behind their dense ‘micro-sparkle’ effect, the strict ANSI standards governing installation—including the mandatory 1/16″ grout joint—and how their higher facet density of ~40,000 per square meter ensures a controlled, high-clarity beam essential for set and lighting design.
Understanding Mirror Tile Resolution
Mirror tile resolution refers to the optical clarity, edge precision, and installation tolerances that determine the quality of reflection in a tiled surface. It is governed by standards like ANSI A137.2 for tile properties and ANSI A108 for installation, requiring specific materials like epoxy adhesives and precise 1/16″ grout joints to achieve a high-fidelity, durable finish.

Defining Resolution in a Physical Context
For mirror tiles, “resolution” is not about pixels. It describes the physical qualities that affect the final visual result: optical clarity, the precision of tile edges, and the tight tolerances of the installation itself.
This concept is critical for professionals like set designers, who need period-correct reflections, and lighting designers, who manage precise light scattering. A high-resolution installation ensures visual accuracy, preventing distortions that can break an artistic illusion or design intent.
The Standards and Specifications Governing Clarity
Achieving high resolution is defined by strict industry standards. ANSI A137.2 specifies the physical properties—like size variation and breaking strength—for compliant glass tiles, including those with mirror finishes. The installation process is governed by the ANSI A108 series, which mandates practices like achieving 100% mortar contact, verified by lifting tiles after setting to check for voids.
Material selection is non-negotiable. Epoxy adhesives, such as LATAPOXY 300, are mandatory to prevent the silver backing from oxidizing due to the alkalinity in standard cement mortars. Grout joints must be a minimum of 1/16″ (1.5 mm), with additional movement joints per TCNA EJ-171 to accommodate the higher thermal expansion of glass.
Finally, the cutting and finishing process directly impacts edge clarity. Using continuous-rim wet saws followed by diamond pad smoothing creates chip-free edges that maintain the tile’s reflective quality, completing a high-resolution installation.
5mm vs. 10mm Tiles: A Visual Comparison
The choice between 5mm and 10mm mirror tiles defines the final visual texture and light performance of a surface. A 5mm tile creates a dense, fine-grained sparkle with superior light diffusion, while a 10mm tile offers a bolder, more graphic pattern with distinct individual reflections. The decision impacts both aesthetic style and functional light scattering.
| Product Type | Key Measurement | Range / Specification |
|---|---|---|
| LED Strip (8mm) | Brightness | 500-800 lumens/meter |
| LED Strip (10mm) | Brightness | 1000-1500 lumens/meter |
| P5 LED Screen | Pixel Pitch | 5mm distance between pixels |
| P10 LED Screen | Pixel Pitch | 10mm distance between pixels |
| P5 LED Screen | Resolution | 40,000 dots/sq meter |
| P5 LED Screen | Viewing Angle | 160° horizontal/vertical |

Defining the Visual Character: Fine Grain vs. Graphic Pattern
A 5mm tile surface appears as a continuous, shimmering field where individual facets blend, creating a ‘micro-sparkle’ effect ideal for immersive environments.
A 10mm tile surface presents a more defined, geometric mosaic. Each tile’s reflection is distinct, resulting in a bold, graphic pattern suited for statement architectural features.
The visual difference is analogous to pixel density: 5mm offers ~40,000 facets per square meter, while 10mm offers ~10,000, directly affecting the resolution of the reflected image.
Performance in Light: Diffusion Density and Reflection Clarity
The higher facet density of 5mm tiles scatters light more diffusely, softening beams and creating a wider, more ambient glow that reduces harsh glare.
10mm tiles produce sharper, more defined beams of light. Their larger facets act like individual mirrors, which can create dramatic, punctuated light movements in a space.
For applications where light is the primary medium—such as in clubs or theatrical sets—5mm tiles provide a smoother, more consistent diffusion, while 10mm tiles offer higher contrast and dynamic punch.
Light Scattering Density and Beam Clarity
Light scattering density determines how intensely a surface reflects and disperses light, governed by particle size and wavelength. For 5mm tiles, this translates to a controlled, high-clarity beam with minimal stray light, enabling sharp, defined visual effects essential for professional set and lighting design.

The Physics of Scattering and Visual Intensity
The visual intensity of a reflected beam is governed by the physics of light scattering. Scattered light intensity increases with the sixth power of the particle diameter (I ∝ d⁶). This means a 50 nm particle scatters one million times more light than a 1 nm particle.
Intensity is also inversely proportional to the fourth power of the laser wavelength (I ∝ 1/λ⁴). Shorter wavelengths, like blue light, produce more intense scattering than longer wavelengths like red light.
For mirror tiles, this principle validates the design choice of smaller, precisely cut 5mm facets. Each facet acts as a controlled scattering point, creating a denser and more uniform sparkle effect without becoming visually chaotic or overwhelming.
In professional lighting, this allows designers to tune beam intensity across a massive range. The principle is analogous to a dynamic light scattering (DLS) system’s attenuator, which can adjust transmission from 100% down to 0.0003% to prevent signal saturation and maintain a clear, measurable signal.
Achieving Beam Clarity in Design Applications
Beam clarity relies on coherent phase interference, analogous to the clear speckle patterns generated by small particles in DLS analysis. For 5mm tiles, uniform size and precise placement are critical to minimize polydisperse scattering that can blur and soften the visual effect.
Optimal detection angles from DLS directly inform lighting design. For example, 173° back-scattering is used for turbid samples. In lighting, back-scattering techniques can optimize clarity in environments with atmospheric particulates, such as theatrical haze or fog, ensuring the beam remains sharp and defined.
The application mirrors DLS analysis for polydisperse samples. A surface with inconsistent tile sizes would have its visual effect dominated by the largest facets, obscuring the finer ‘micro-sparkle’ of the 5mm tiles and reducing overall precision.
Manufacturing standards are paramount. Standards like ISO 22412:2017, which mandates ±0.5% refractive index accuracy for particle sizing, parallel the precision required for tile production. Consistent refractive properties across all tiles ensure predictable beam behavior and reliable visual outcomes.
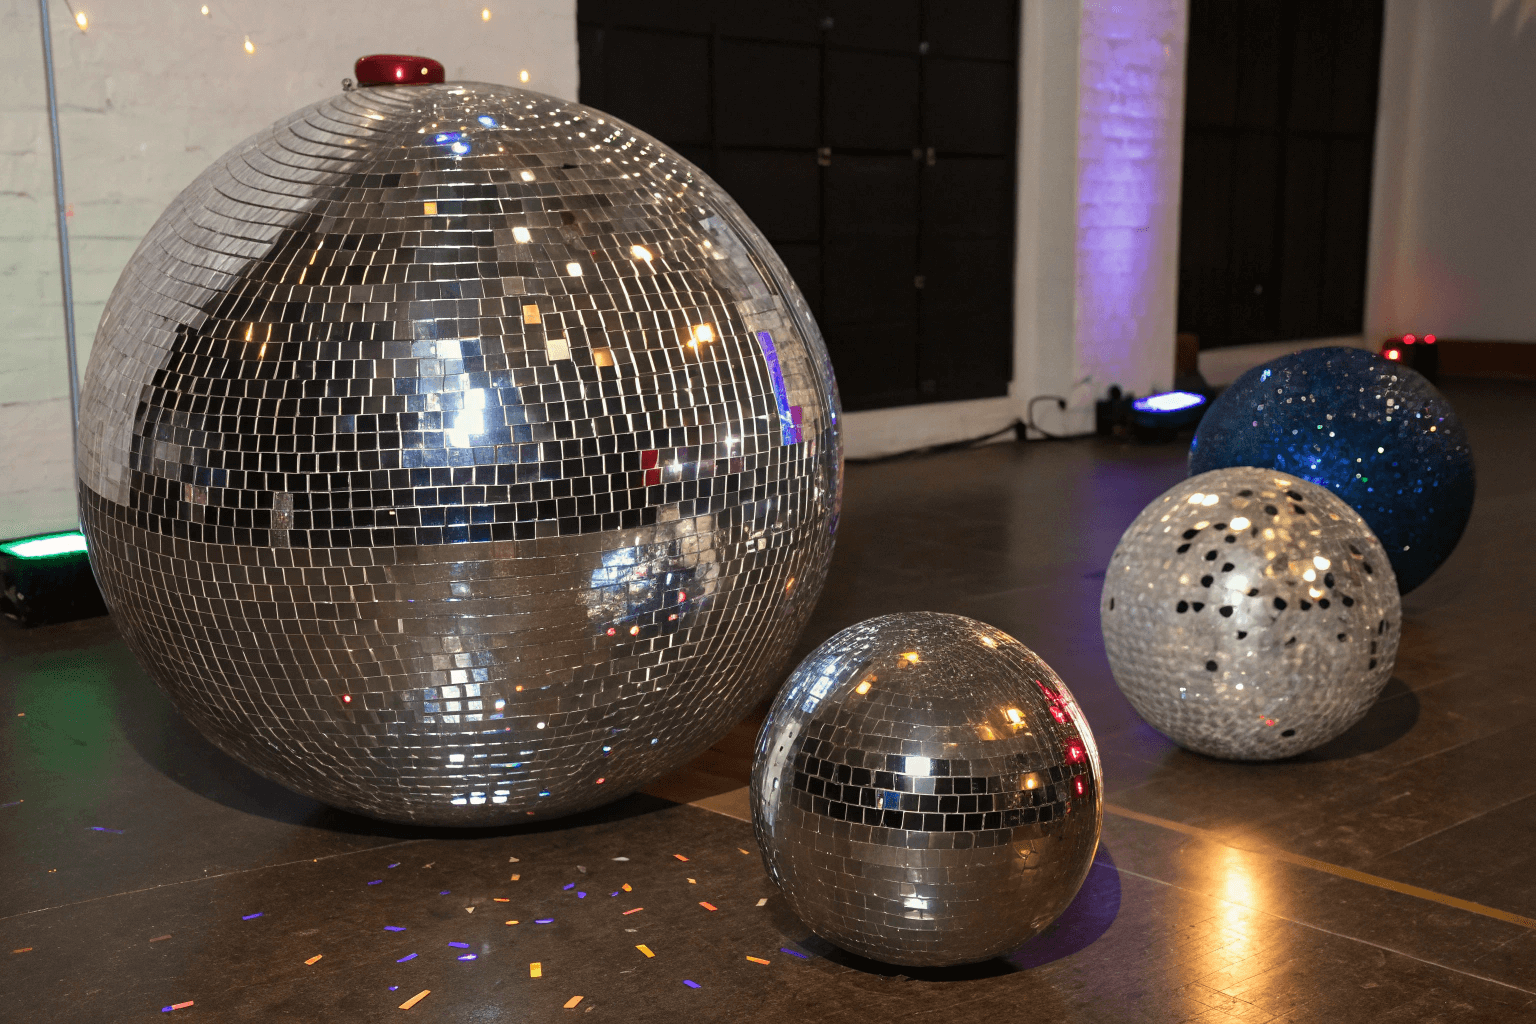
Source Commercial-Grade Mirror Balls, Not Party Favors
Manufacturing Challenges of Small-Tile Application
The main manufacturing challenges involve controlling tile warpage and dimensional tolerances to prevent visible lippage in installations. Even tiles meeting strict ANSI standards can fail in common 50% offset patterns due to cumulative edge deviations, requiring manufacturers to implement rigorous post-kiln measurement and enforce specific installation guidelines.

The Physics of Warpage and Lippage
ANSI A137.1 sets strict edge warpage caps, such as 0.6 mm for a 6-inch rectified porcelain tile, which is more stringent than many international standards.
Even compliant tiles can guarantee lippage in a 50% offset pattern with narrow grout joints under wall-wash lighting, as cumulative edge deviations amplify height differences.
Manufacturers measure all four edges of each tile post-kiln and reject any exceeding the ANSI warpage value to ensure batch consistency.
Tolerances for Mosaics and Modular Patterns
For mosaic sheets (1×1 to 3×3 inches), ANSI A137.1 Table 6 limits individual joint misalignment to less than 30% of the average joint width, requiring precise measurement of hundreds of joints per sheet.
European standards like EN 98 allow dimensional tolerances to increase with tile size, which can be misaligned with the precision needs of small-tile applications.
To mitigate installation issues, manufacturers often recommend offsets of 33% or less for large tiles and emphasize the need for wider grout joints to absorb minor tile-to-tile variations.
Why “Hand-Placed” Tiles Create Better Symmetry
Hand-placed tiles achieve better symmetry through meticulous grid alignment using centerlines and the 3-4-5 triangle method, ensuring patterns are perfectly squared. The process allows for dry-run verification with spacers and laser levels, accommodating tile caliber variations and enabling precise adjustments for complex patterns like herringbone, which automated systems often misalign.
| Key Factor | Technical Specification | Impact on Symmetry |
|---|---|---|
| Grid Alignment Method | Centerline referencing with 3-4-5 triangle squaring | Establishes perfectly squared reference lines, minimizing edge cuts and ensuring balanced patterns. |
| Dry Layout & Verification | Use of spacers, laser/spirit levels for alignment | Allows for on-site adjustments to tile caliber variations and uniform grout lines before permanent installation. |
| Material Performance (Symmetry Series) | Modulus of rupture ≥12 N/mm²; bond strength >0.5 N/mm² (C1 adhesive); water absorption >10% (BIII ceramic) | Ensures tile durability under load without compromising the integrity of the installed pattern. |
| Pattern Complexity (e.g., Herringbone) | 45-degree rectangular tile angles for symmetrical repetition | Requires precise manual placement to maintain shape compatibility and prevent gaps that automated systems may create. |
| Compliance Standards | UNI-EN ISO 10545 (crazing resistance: Pass; stain resistance: Class 5) | Validates that tiles maintain their visual symmetry and performance in high-traffic environments. |

The Precision of Grid Alignment and Dry Layout
The process starts with establishing perfectly squared reference lines. Installers use the room’s centerline as a primary axis and apply the 3-4-5 triangle method to create a 90-degree angle, forming a precise grid for the entire layout. This geometric foundation is critical for symmetrical tile placement from the center outward.
Before any adhesive is applied, a full dry layout is conducted. Tiles are positioned using spacers to ensure consistent grout lines. Alignment is continuously verified with laser or spirit levels. This step is a key advantage of hand placement, as it allows installers to accommodate natural variations in tile size (caliber) and make immediate adjustments to prevent small errors from accumulating, which is especially important for complex patterns.
For patterns like herringbone set at 45-degree angles, this meticulous dry-run process is indispensable. It ensures each tile’s angle and position contribute to a seamless, repeating symmetry. Automated systems, with fixed spacing, often fail to correct for the minor irregularities that can disrupt these intricate designs.
Technical Standards and Material Considerations for Symmetry
Achieving lasting symmetry depends on the tiles meeting specific performance criteria. For example, ceramic tiles in the Symmetry Series must have a modulus of rupture of at least 12 N/mm² (for tiles 7.5 mm or thicker) to withstand mechanical stress without cracking. Bond strength must exceed 0.5 N/mm² when used with a C1 adhesive, ensuring tiles remain firmly in place. A water absorption rate greater than 10% classifies them as BIII ceramics, which is suitable for many interior applications.
Compliance with international standards like UNI-EN ISO 10545 guarantees the tile’s performance. These standards include tests for rupture strength, crazing resistance (Pass), high stain resistance (Class 5), and resistance to acids and bases. A tile that passes these tests will maintain its visual integrity and symmetry over time, even in demanding settings like educational spaces.
The installation surface itself is a critical factor. The substrate must be perfectly level to prevent lippage (uneven tile edges) that breaks visual symmetry. Proper planning for expansion joints is also essential, allowing the tile field to move slightly with temperature and humidity changes without causing cracks that would disrupt the pattern.
The Aesthetic of the “Micro-Sparkle”
The micro-sparkle aesthetic is a high-resolution visual effect created by precisely engineered particles or coatings that scatter light. It relies on nanoscale film layers or micron-sized glitter particles to produce a dense, shimmering brilliance without traditional colorants, mimicking natural iridescence for applications in lighting and design.

The Science Behind the Scintillation
The micro-sparkle effect isn’t about color; it’s about engineered light interference. This principle is similar to what creates the brilliant blue of a morpho butterfly’s wings, where structure, not pigment, produces the color.
One method uses nanotechnology, stacking up to 200 super-thin films—each just nanometers thick—to bend and split light. The specific hue of the resulting iridescence, such as Pearl Violet, Blue, or Pink, is determined by the precise thickness of this film stack, which can range from 13 to 19 micrometers.
An alternative approach uses a synthetic mica substrate coated with a precise layer of titanium dioxide (TiO₂). This coating creates a bright, high-white sparkle that remains consistent from different viewing angles, making it ideal for applications requiring uniform diffusion and brilliance.
Specifications for Precision Sparkle
The physical specifications of the particles are critical for controlling the final aesthetic. For a fine, dense sparkle, glitter particles are finely graded. Common sizes include 50×50 microns (#300 grade) up to 150×150 microns.
For a more dramatic, elongated flash of light, specialized particle shapes are used, such as 50×600 microns or 75×1000 microns. When these particles are formed into clusters to add texture, they remain small, with heights typically around 7mm to 9mm.
For use in high-traffic public spaces or applications where safety is paramount, such as in schools or cosmetics, purity is non-negotiable. Cosmetic-grade specifications require sterilization under 100 CFU/g and heavy metal content below 20 ppm to ensure the material is safe for its intended environment.
Specifying Tile Size in Project Tenders
Project tenders must specify precise tile sizes, thicknesses, and substrate tolerances to meet structural and aesthetic goals. Key requirements include a minimum 3+ mm thickness for porcelain panels, a maximum 1.5 m² panel size above ground floor, and substrate flatness within 1/8” in 10’. Specifications must align with ANSI A137.1, A137.3, and A108.02 standards for grout joints and layout.

To ensure structural integrity and design intent for tile and panel installations, tender documents must detail critical dimensional, tolerance, and compliance data. This involves specifying precise tile sizes, thicknesses, and substrate tolerances that align with industry standards.
Mandatory Dimensional and Performance Criteria
Tender documents must define non-negotiable size, thickness, and substrate specifications to ensure project viability and safety. These criteria are essential for preventing structural failures and installation issues.
Porcelain tile panels require a minimum thickness of 3+ mm. A 5.6 mm thickness is evaluated case-by-case for heavy commercial use in spaces like malls and airports.
The maximum panel size is capped at 1.5 m² for installations above ground floor to mitigate deflection risks. Ground floor applications on-grade concrete can accept larger sizes, up to 1 m x 3 m.
Substrate flatness tolerance is critical. The surface must not deviate more than 1/8” in 10’ (3 mm in 3 m) from plane. For large-format tile mortar beds, a stricter limit of 1/16” in 24” (1.5 mm in 600 mm) applies.
Tender language must clearly assign responsibility for substrate remediation if these tolerances are not met. This prevents disputes during construction and ensures accountability.
Compliance with ANSI Standards for Layout and Joints
Specifying grout joint sizes, running bond offsets, and applicable standards is necessary for a compliant and visually consistent installation. These specifications prevent lippage and ensure long-term performance.
Grout joint size is dictated by ANSI A108.02. It requires a minimum width of 3x the tile’s facial dimension variation. For example, a 3/16” joint is needed for a tile with a 1/16” variation.
For tiles larger than 15” on a side in a running bond pattern, the average joint is 1/8” for rectified tiles and 3/16” for non-rectified tiles. Additional width is required to accommodate edge warpage, such as 1/8” + 1/32” = 5/32”.
Running bond patterns for tiles with an offset side longer than 18” are limited to a maximum 33% offset. This limit is crucial for preventing lippage in large-format installations.
Tenders should reference ANSI A137.1 for ceramic and porcelain tile quality grades and ANSI A137.3 for gauged porcelain tile panel requirements. This ensures material compliance and performance.
Key data points include porcelain tile panels at 3+ mm or 5.6 mm thickness, with the latter evaluated for heavy commercial use. Maximum panel size is 1.5 m² above ground floor, while 1 m x 3 m is acceptable for ground floor applications. Substrate tolerance is 1/8” in 10’ (3 mm in 3 m) from plane, with a stricter 1/16” in 24” (1.5 mm in 600 mm) for large-format tile mortar beds.
Grout joint size per ANSI A108.02 requires a minimum of 3x the tile facial dimension variation. For tiles over 15” in a running bond, average joints are 1/8” for rectified and 3/16” for non-rectified, plus any edge warpage. Running bond offsets are capped at 33% for tiles with an offset side over 18”.
Nominal sizes from UFGS 09 30 10 include 75×75 mm (3×3”), 150×150 mm (6×6”), 300×300 mm (12×12”), and 300×600 mm (12×24”), with thicknesses of 8-10 mm (5/16-3/8”). Smaller wall tiles are 106×106 mm (4-1/4×4-1/4”). Large-format commercial tiles often use 24×24”, 24×48”, and 48×48” sizes to reduce grout lines.
Essential standards are ANSI A137.1 for sizes, shapes, and quality grades; ANSI A137.3 Table 4 for panel requirements; ANSI A108.02 for grout and offset rules; and ANSI A108.19 for gauged porcelain tiles and panels.
Specifying tile size requires precise dimensional and tolerance data to ensure structural integrity, especially for porcelain panels in high-traffic areas. Guide specs mandate 3+ mm or 5.6 mm thicknesses with size caps like 1.5 m² max above ground floor to mitigate deflection, per direct bond guidelines and ANSI A137.3. Substrate flatness at 1/8” in 10’ is critical, with tender language needed to assign remediation responsibility.
Grout and layout specs from ANSI A108.02 dictate minimum joints based on tile variation and warpage—for example, a 3/16” baseline scaling to 5/32” with edge issues. For large formats over 15” in running bond patterns, offsets are limited to 33% to prevent lippage. Military and government specs (UFGS) provide entity-specific nominals like 300×600 mm at 8-10 mm thick, aligning with ANSI A137.1 for grading.
Final Thoughts
The 5mm standard represents a deliberate choice for high-resolution light scattering. It’s not just about smaller tiles; it’s about achieving a denser, more uniform field of reflection. This density translates to a finer visual texture—the “micro-sparkle”—and superior light diffusion, which is essential for creating immersive environments where light itself is a primary design element. The precision required in manufacturing, material selection, and installation underscores that this is a technical specification, not merely an aesthetic preference.
For professionals specifying these materials, the implication is clear: success hinges on rigorous standards. From adhering to ANSI specifications for installation and substrate flatness to understanding the physics behind light scattering, every detail contributes to the final visual fidelity. Whether the goal is a seamless, shimmering wall or a precisely engineered disco ball, the 5mm tile, when applied correctly, delivers a level of control and clarity that larger formats cannot match, making it the definitive choice for applications where resolution matters.
Frequently Asked Questions
What is the standard mirror tile size?
The standard size for decorative, mosaic, or commercial mirror tiles is 24 inches by 24 inches (610 mm x 610 mm), as defined by architectural standards. Other common formats include 12×12 inch mosaic sheets and modular panels up to 24×36 inches.
Why are 5mm tiles used for disco balls?
5mm tiles are preferred for their ability to create intricate, high-resolution designs. Their small size allows for a denser arrangement on a sphere, resulting in smoother light scattering and more precise visual effects compared to larger tiles.
What is the difference between 5mm and 10mm mirror tiles?
The key difference is in structural integrity and application. Professional 5mm tiles are typically 4-6mm thick, offering superior warp resistance. In contrast, standard 10x10mm mosaic tiles used for crafts are often only 1.3mm thick and are designed for decorative scattering effects rather than structural applications.
How are mirror tiles applied to spheres like disco balls?
Mirror tiles are applied to a lightweight, durable inner core. Hundreds of precisely cut, square glass tiles are aligned and adhered for maximum reflectivity. For DIY projects, self-adhesive 5mm or 10mm tiles offer a peel-and-stick solution. A standard 20-inch sphere uses hundreds of tiles and can weigh 8 to 10 pounds.
What is the best tile size for a 20-inch disco ball?
The industry standard for a 20-inch disco ball is 10mm (or 3/8 inch) glass mirror tiles. Leading professional suppliers use this size to achieve the optimal balance of reflection density and light scattering for a vibrant visual effect.
Can I get custom tile sizes for branding projects?
Yes, custom sizing is a standard service in the tile industry. For materials like porcelain and ceramic, sizes can range from small 2×2 inch tiles up to large-format gauged porcelain slabs measuring 10×15 feet. Most manufacturers offer cut-to-order options with linear dimensions from 3 inches to 48 inches.